

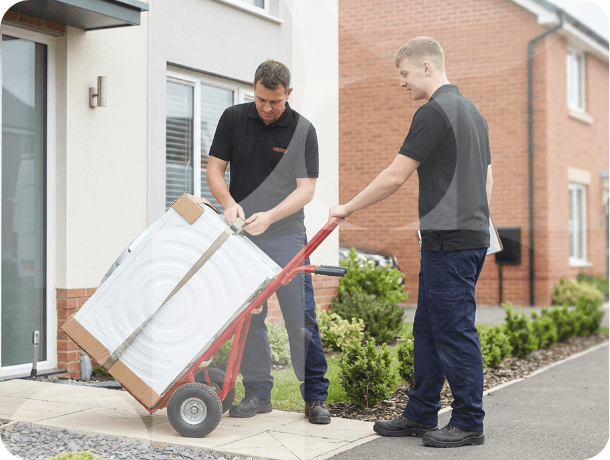
Step 1: Delivery & safety check
We’ll deliver your new electric cooker to your kitchen, unbox it and conduct a pre-install safety check.
Step 2: Electrical connection
After this, our team will connect your new cooker to the electrical supply. We will test the supply and ensure the fuse and connection point are suitable for the cooking device being installed.
Step 3: Post-install safety test
Once your cooker is connected, our team will conduct a post-install safety test to make sure everything is working as it should.
Step 4: Safety chain fitting
We will need to fit a safety chain to freestanding cookers. This is required by most manufacturers and could involve a small amount of drilling or screwing into cabinets, worktops or walls. If an anti-tilt device is required and you decline this, we won’t be able to continue with the installation.
Step 5: Appliance walkthrough
After it’s set up and working, your installation team will set the clock and show you how to use your oven, grill and hob.
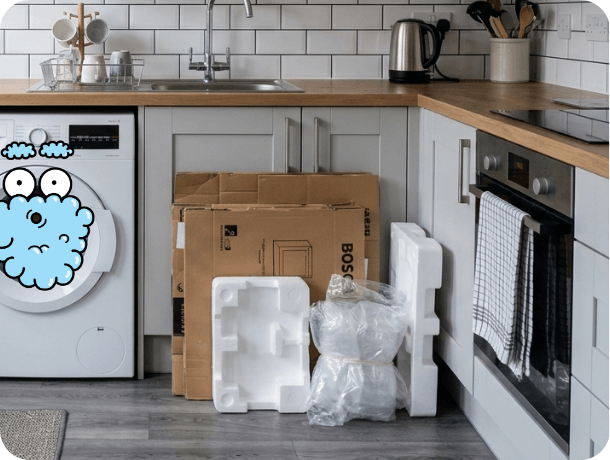
Step 6: Clean-up & packaging removal
Once you’re happy, we’ll clear away any packaging and take it with us, leaving you to enjoy your new cooker. Please note that new cookers can sometimes give off a slight smell or light smoke during their first few uses as protective coatings and oils burn off. This is completely normal.
Step 1: Delivery & safety check
We’ll deliver your new oven to your kitchen, unbox it and conduct a pre-install safety check.
Step 2: Oven preparation
If necessary, our team will remove your kitchen’s kick plate if you haven’t already, attach the feet to the oven and adjust it for height. We’ll then slide the oven into place and secure it using the appropriate brackets and mounting screws where required.
Step 3: Electrical connection
After this, our team will connect your new oven to the electrical supply in line with the manufacturer’s guidelines. Depending on the oven, this may be via a standard 13amp plug or a hardwired 13amp fused spur. We’re unable to connect any oven to an extension lead or multi-plug adaptor.
Step 4: Post-install safety test
Once your machine is connected, our team will conduct a post-install safety test to make sure everything is working as it should.
Step 5: Final setup & demonstration
After it’s set up and working, your installation team will reattach your kick plate if it was removed, set the clock and show you how to use your new oven.
Step 6: Clean-up & packaging removal
Once you’re happy, we’ll clear up any packaging and take this away with us, leaving you to enjoy your new oven.
Step 1: Delivery & safety check
We’ll deliver your new hob to your kitchen, unbox it and conduct a pre-install safety check.
Step 2: Worktop preparation
After this, our team will adjust your worktop cut-out to fit your new hob if needed. We’re only able to enlarge existing cut-outs and cannot reduce their size. This service is available for wooden and laminate worktops only.
Step 3: Electrical connection
Your installer will then connect your new hob to the electrical supply in line with the manufacturer’s instructions. Hobs rated at 13amps must be wired directly to the power supply and cannot be connected using an extension lead or multi-plug adaptor. For hobs rated above 13amps, the circuit must be protected by the correct fuse rating at the consumer unit, as specified by the manufacturer.
Step 4: Post-install safety test
Once your machine is connected, our team will conduct a post-install safety test to make sure everything is working as it should.
Step 5: Securing & sealing
We’ll fit any securing brackets supplied with your new hob and fit any supplied seal.
Step 6: Appliance walkthrough
After it’s set up and working, your installation team will show you how to use it.
Step 7: Clean-up & packaging removal
Once you’re happy, we’ll clear up any packaging and take this away with us, leaving you to enjoy your new hob.
Built-in appliance and hob installations require specialist fitting teams and may not be available in all areas. To ensure the correct installation service can be arranged, these installations can only be booked in store. Our colleagues will be happy to discuss your requirements and advise on the options available.
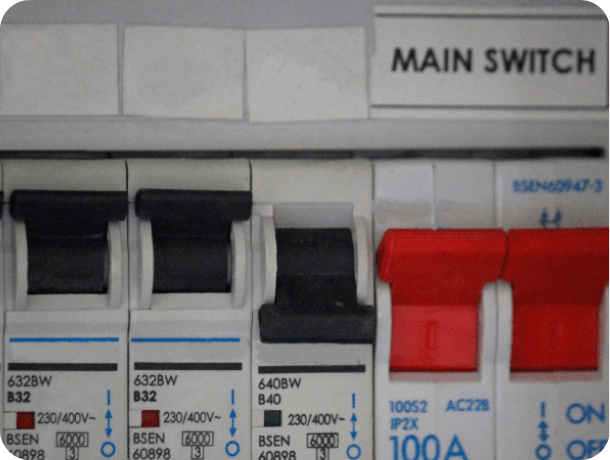
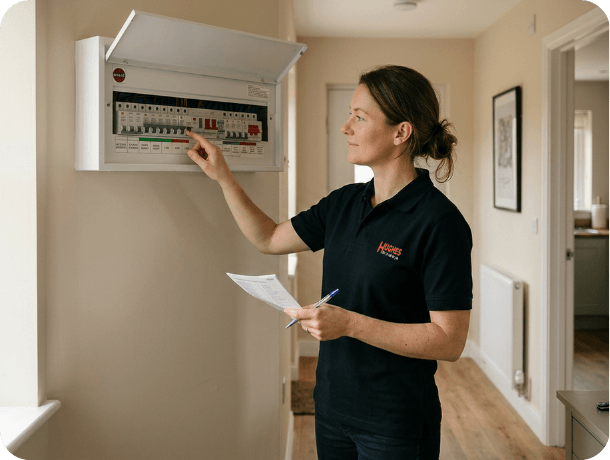
Fuse board access
Ensure that the installation team can easily access your fuse board/consumer unit.
Dedicated cooker circuit
Check that your electrical supply has a dedicated circuit for your cooker. This may include a built-in 13amp socket as part of a 45amp switch. In some homes, there may also be a separate 13amp socket connected to the Cooker Connection Unit (CCU). This socket must be positioned under the worktop surface and next to the CCU.
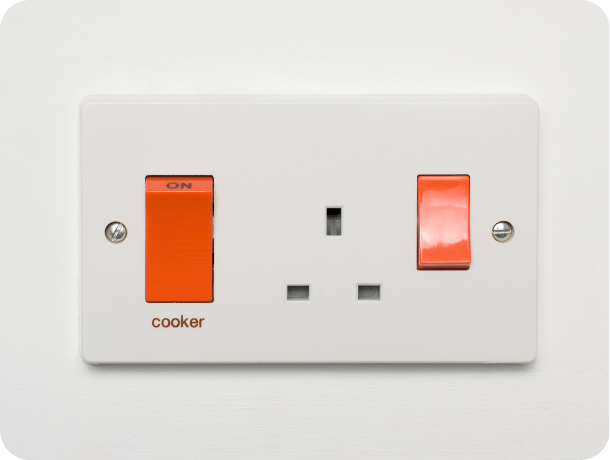
Cooker Connection Unit
Check that your Cooker Connection Unit (CCU) can have one socket connected to it. The socket must be located under the worktop and beside the CCU.
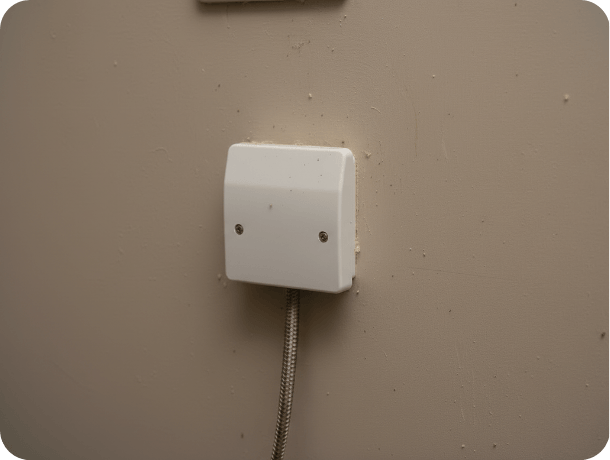
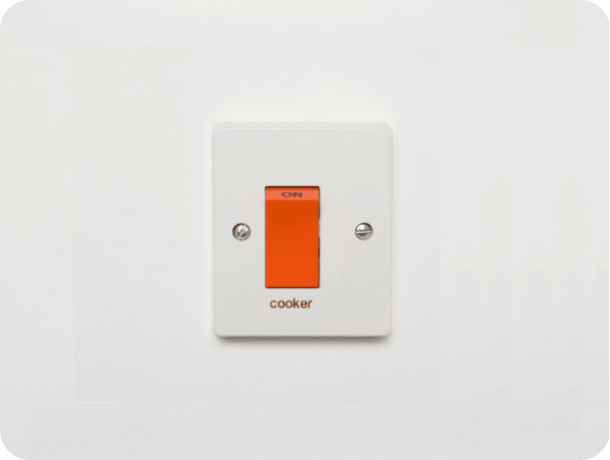
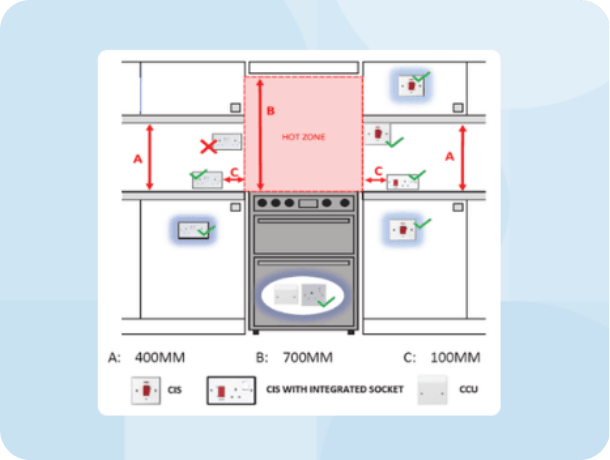
Hot Zone safety
Your Cooker Isolation Switch (CIS) and any other electrical outlets must not be positioned within the ‘Hot Zone’. If your CIS has an integrated 13amp socket, it’s important that it’s positioned at the correct distance from the Hot Zone, as shown in the diagram below. Please also ensure that your electrical sockets and switches are positioned at a safe distance away from the Hot Zone, as shown in the diagram.
Accessible isolation switch
Ensure that your CIS is within 2 metres of the cooker and is easily accessible for our team. It can be inside a cupboard, but the cupboard will need to be empty for easy access.
Electrical components condition
Your fuse board/consumer unit, CCU, CIS and cabling should be complete, in good condition and accessible to the Hughes Installation Team.
Correct fuse rating
Please ensure your appliance has the correct fuse protection before installation. Modern ovens and cookers may require different fuse ratings to older models. If the existing wiring or fuse is unsuitable, installation may not be possible until this has been updated by a qualified electrician.
Cooker hood clearance
Please ensure your cooker hood and any eye-level cupboards meet the minimum clearance distances shown below or in your appliance’s installation guide. Our team may take photographs to confirm safety requirements have been met.
Keep the Hot Zone clear
The Hot Zone must not contain any flammable materials, such as wallpaper, and must not include windows or doorways within or directly above the area.
Check your cookware is induction compatible
If you have ordered an induction hob, make sure your cookware is suitable for induction cooking. Induction hobs only work with pans that have a magnetic base.
.png)
